
We are in the process of training our new puppy. She is struggling with signaling us to go outside to potty. I decided to look up training bells and price them out. I couldn’t believe they were $12+ for a set of bells! So, in true homesteading fashion, I raided my craft room and found all the parts needed to make my own set of bells.
These were the supplies that I used to make my FREE version of dog training bells. I used 3 – 2″ key rings, 9 bells in 2 different sizes, belt ribbon, 3″ interlocking ring, fishing line and a thread needle. That was all I needed to create this project. No machine or fancy gadget needed. Don’t go out and buy this stuff new, hit up a thrift shop if you don’t have anything similar on hand. I guarantee you could find these or something similar to use.
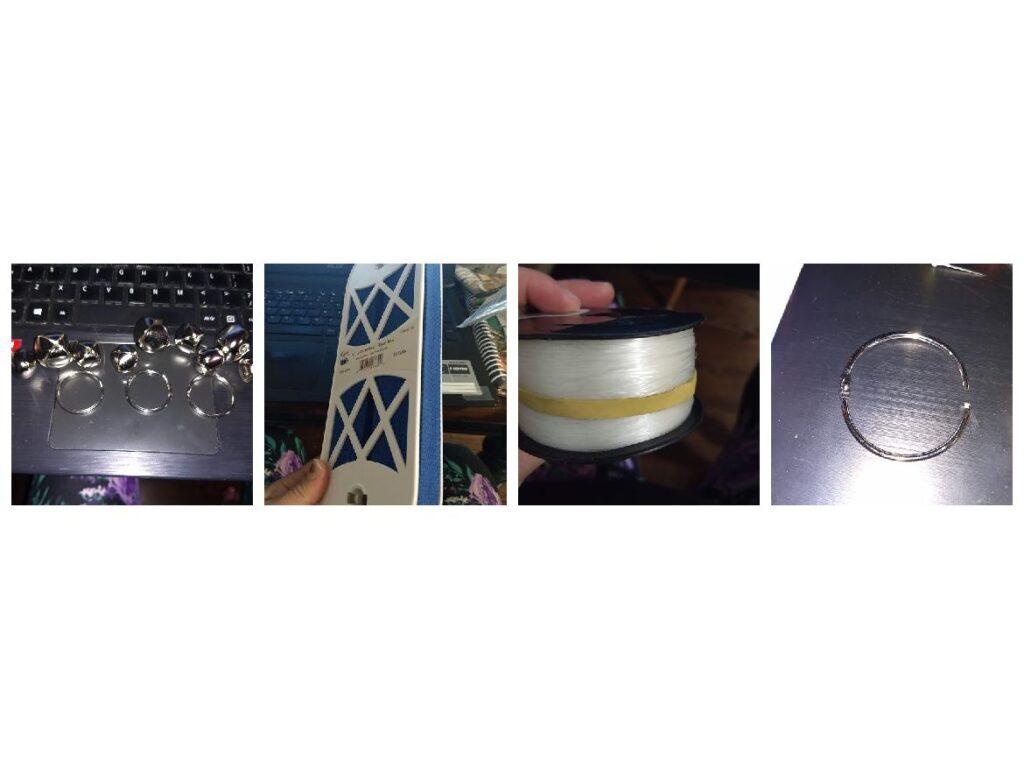
Step 1: Twist the bells onto the key rings. I wanted mine to have the larger bell in the center of the 2 smaller ones. Do this for all 3 key rings.
Step 2: Take one end of the belt material and make a loop around the first set of key ring bells. Leave as much of a loop around the key ring as you would like but you don’t want it to be snug. Give it a little wiggle room. Sew it across with the fishing line to close the loop around the key ring bells. This loop will be the bottom of the finished project.
Step 3: Go up the belt material from the first set of bells by about 6″. I just eyeballed it, I didn’t really measure. The dog won’t notice. I did the same thing as I did in Step 2. I formed a loop with the belt material around the 2nd set of key ring bells. Again, used the fishing line to sew the loop closed.
Step 4: Repeat Step 3 another 6″ or so up the belt material.
Step 5: I didn’t want to mess with a snap or velcro to keep the bell rope onto the sliding door so I used the interlocking ring. I formed a final loop at the top of the belt material and sewed it closed with the fishing line and then looped the interlocking ring through it and fastened it over the door handle.
Finished! It took me 10 minutes to dig out the supplies and about 10 minutes to assemble that all. If I were to have to buy all those supplies, I would imagine it would be roughly $5 from a thrift store or with a 50% coupon as a craft store.

What do you think of this project? Something you would be up for trying? If you are interested in this project but aren’t sure if you have the right supplies or some that would work, comment and I will give you tips to make the project successful for you!